Getting Started with MicroVMs
| 3 minute readMicroVMs are a new type of virtual machine that sit somewhere between containers and full VMs. Lighter on resources and faster to boot than standard VMs, but better isolation than a standard container. They’ve been popularized with Firecracker, which is designed for short-lived disposable microVMs, but QEMU has also added a microvm machine type that we can play around with as well.
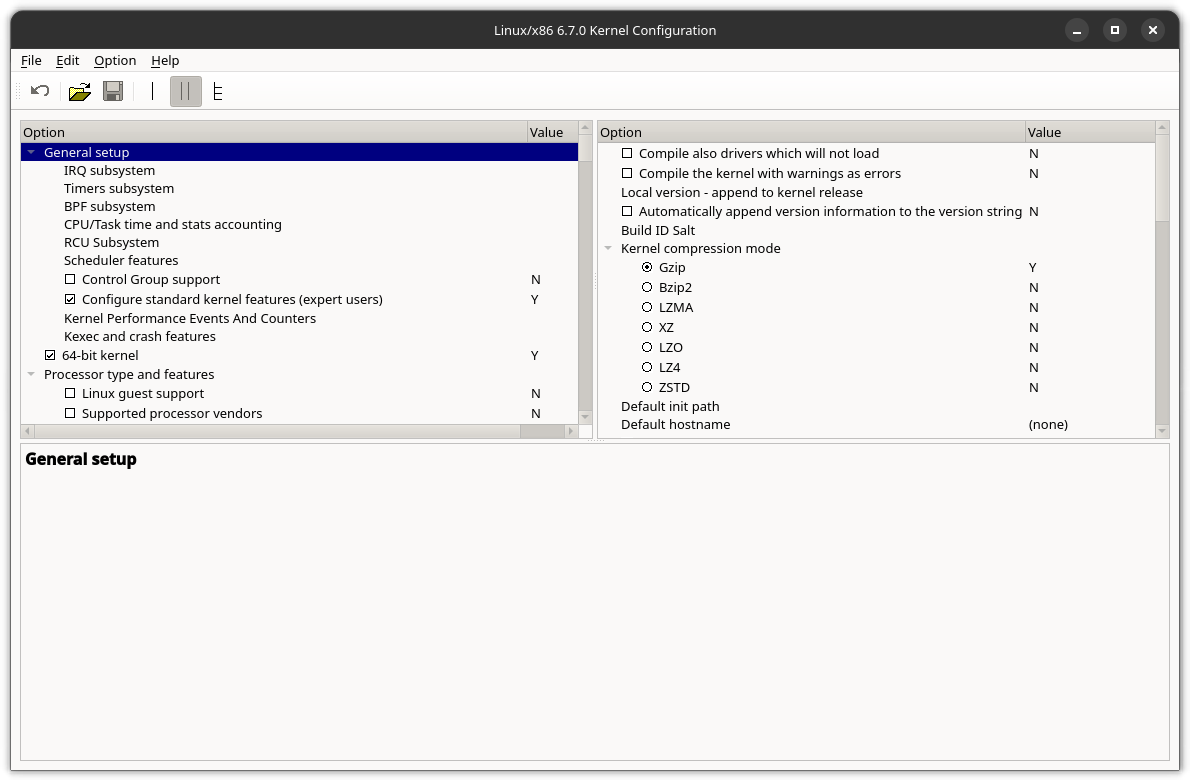
At a minimum to get up and running with QEMU microVMs, we’ll need to feed it a kernel image and an initial ramdisk. You could probably just use the kernel that’s on your system now, but for the sake of this exercise, we’ll compile and build a minimal kernel image. Download and extract the kernel sources, start from a minimal slate with make allnoconfig and select your options with make menuconfig or make xconfig
A copy of the .config I used is available here. Essentially, I added 64-bit kernel, binary executable support, initramfs support, printk support for console messages (along with timing information), and serial TTY support. This should result in a relatively shorter build time than a standard kernel.
Kernel: arch/x86/boot/bzImage is ready  (#7)
make -j5  231.06s user 27.03s system 304% cpu 1:24.78 total
Copy the built kernel from arch/x86_64/boot/bzImage into our working directory.
Next, we’ll want to build a basic initramfs so that we can muck around once the system has booted. Create a new working folder and populate it with our standard LFS directories:
mkdir -p bin dev etc lib mnt proc sys tmp var
Download the latest busybox binary from busybox.net and place it in the bin folder.
In the root of our working folder, we’ll create a very basic init script that will populate our /bin and mount our pseudofilesystems. It should look something like this:
#!/bin/busybox sh

/bin/busybox --install /bin

mount -t proc proc /proc
mount -t sysfs sysfs /sys
mount -t devtmpfs devtmpfs /dev
mount -t tmpfs tmpfs /tmp

sh
Mark our new /init executable with chmod +x init and compress our filesystem into an initramfs.
find . | cpio -ov --format=newc | gzip --best > ../initramfz
Now that we have our kernel and our initramfs ready, we can finally create our microVM. The QEMU incantation is similar to a standard VM:
qemu-system-x86_64 -M microvm,x-option-roms=off,rtc=off \
           -bios /usr/share/qemu/qboot.rom \
		   -cpu host \
		   -m 512 \
		   -enable-kvm \
		   -nographic \
		   -nodefaults \
		   -no-user-config \
		   -no-reboot \
		   -serial mon:stdio \
		   -append 'console=ttyS0 acpi=off reboot=t panic=-1 init=/init' \
		   -kernel bzImage \
		   -initrd initramfz
With any luck, you should see a flurry of kernel messages scroll by and eventually land at a shell prompt:
[    0.276000] Unpacking initramfs...
[    0.280000] workingset: timestamp_bits=62 max_order=17 bucket_order=0
[    0.280000] Serial: 8250/16550 driver, 4 ports, IRQ sharing disabled
[    0.280000] serial8250: ttyS0 at I/O 0x3f8 (irq = 4, base_baud = 115200) is a 16550A
[    0.288000] Freeing initrd memory: 684K
[    0.288000] Freeing unused kernel image (initmem) memory: 636K
[    0.288000] Write protecting the kernel read-only data: 6144k
[    0.288000] Freeing unused kernel image (rodata/data gap) memory: 1756K
[    0.288000] Run /init as init process
sh: can't access tty; job control turned off
/ #
If you list the contents of /bin, you’ll find that busybox has hardlinked most of the common utilities you’d find in a base Linux distribution. Feel free to play around and when you’re done, just type exit. Since microVMs don’t have ACPI support, we set our kernel boot parameters to trigger a triple-fault upon reboot, gracefully exiting QEMU when we’re done.