Running a GUI on Hyper-V Server 2019
| 5 minute readMicrosoft provides a free version of their Windows Server 2019 operating system called Hyper-V Server 2019. It’s essentially a version of Server Core stripped down to only being able to run the Hyper-V role, as a lightweight hypervisor. But with some tooling, we can coax it to run a GUI with enough to run most Win32 applications - and use it as a somewhat lightweight, free version of Windows.
Installation
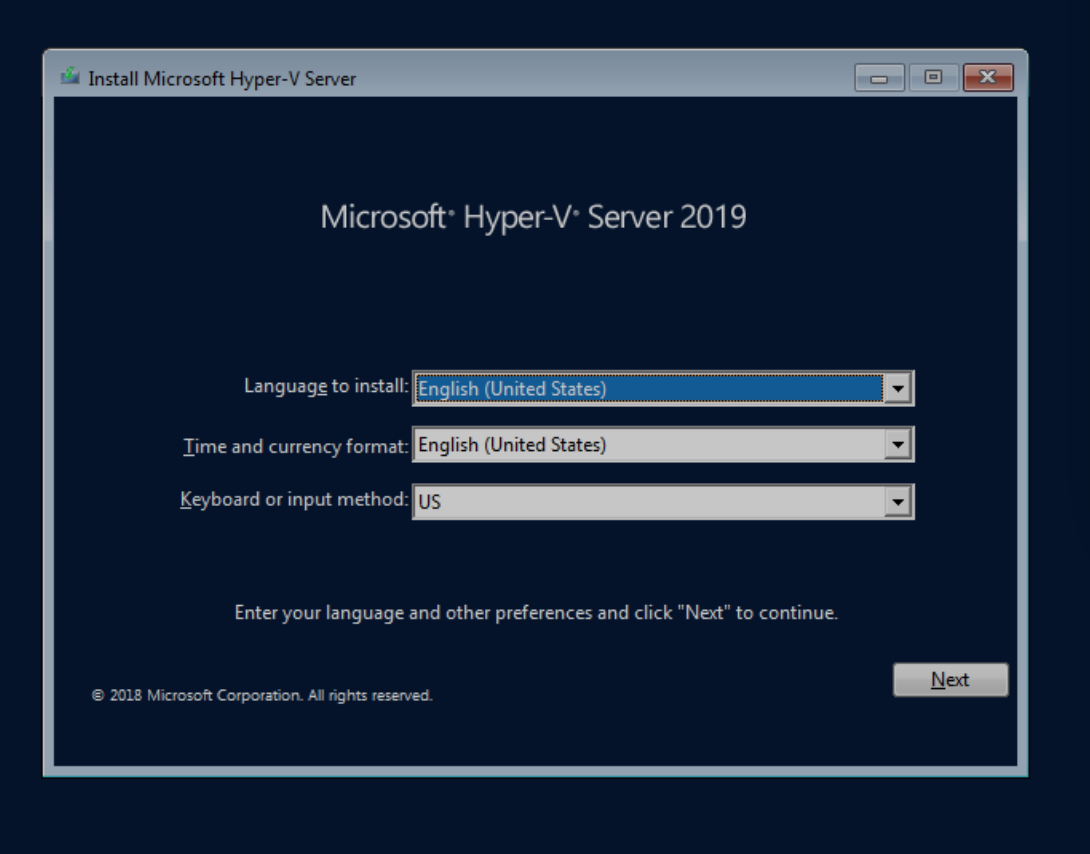
The first step is to install Hyper-V server. If you’ve installed Windows in the past, the setup process should be familiar, minus the product key portion of course.
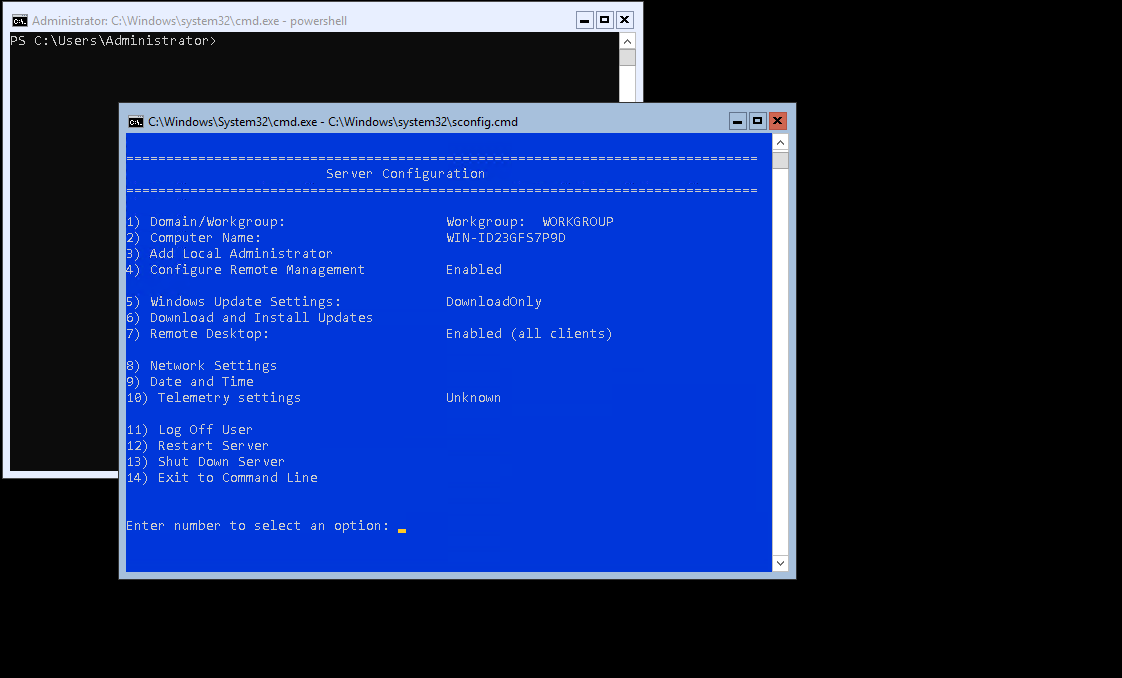
Post-install, we’ll be dropped to a command prompt, with sconfig open ready to configure the system, similar to a fresh Server Core install. At this point, I’d recommend enabling Remote Desktop and connecting to the machine that way, so that we can cut and paste text into the prompt.
Initial Steps
The first thing we need to do is enable the App Compatibility Feature on Demand (FOD). This enables compatibility with some desktop programs on Server Core without needing to install the full desktop experience. Fortunately, it’s available here as well on Hyper-V Server and will get us some of the essentials we need like explorer.exe and mmc.exe.
To do so, open up a Powershell prompt (you can do so by running powershell from the command prompt), and run the following command:
Add-WindowsCapability -Online -Name ServerCore.AppCompatibility~~~~0.0.1.0

Once that’s done, reboot the system and you’ll now be able to open up Explorer and a few other familiar tools. But we’re not quite there yet - we want the system to log on to a desktop, instead of the barebones command prompt. For that, we’ll need to make some registry edits.
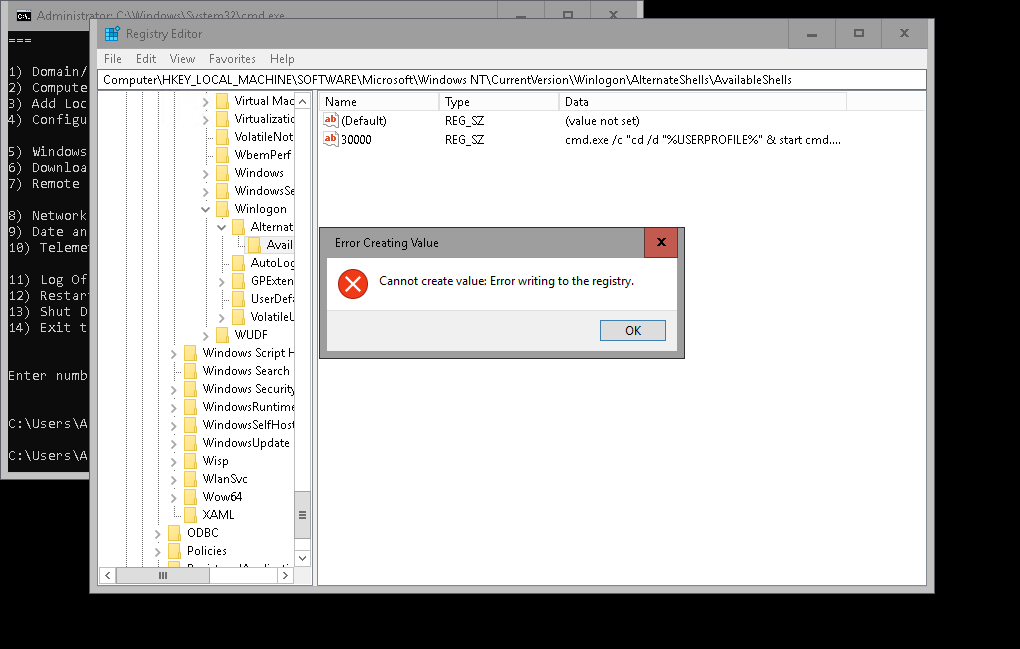
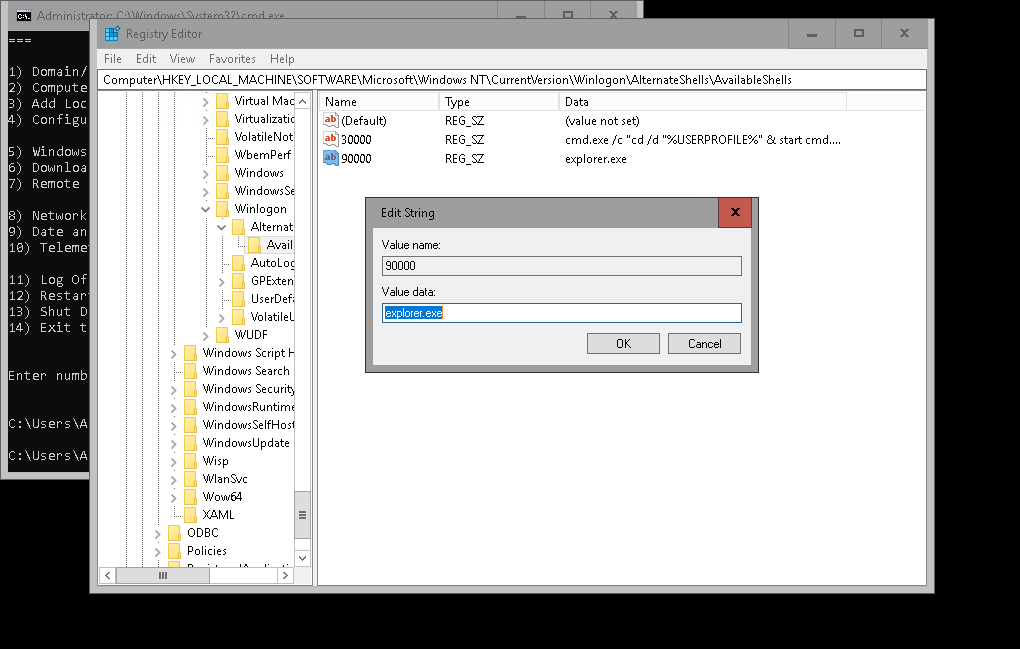
Open up regedit and browse to HKLM\Software\Microsoft\Windows NT\CurrentVersion\Winlogon\AlternateShells\AvailableShells. This key lists what shell Hyper-V server will load on logon. The default with value 30000 is to load cmd.exe like we’ve seen. We need to add a string with a higher number to load the shell that we want - in this case explorer.exe.
You’ll notice that if you try and do so now, you’ll be stopped by an error message, like shown below.
We need to take ownership of the AvailableShells key before we can make any edits. Right click on AvailableShells in the sidebar, select Permissions, and then click Advanced.
At the top, you’ll see it says Owner: TrustedInstaller. Click Change, type Administrator in the field, and click Check Names. It should populate with the current Administrator user, as shown below.

Click OK, and before we close out of this, select Administrators under the Permission Entries: list below, click Edit, and make sure to check Full Control. Close out of all the permissions dialog boxes and we should now have the ability to create new objects in this key.
Right click anywhere on the right pane, and select New > String Value. Give it a number higher than the default 30000 (in this case I chose 90000). Double click it and under Value data, type in explorer.exe.
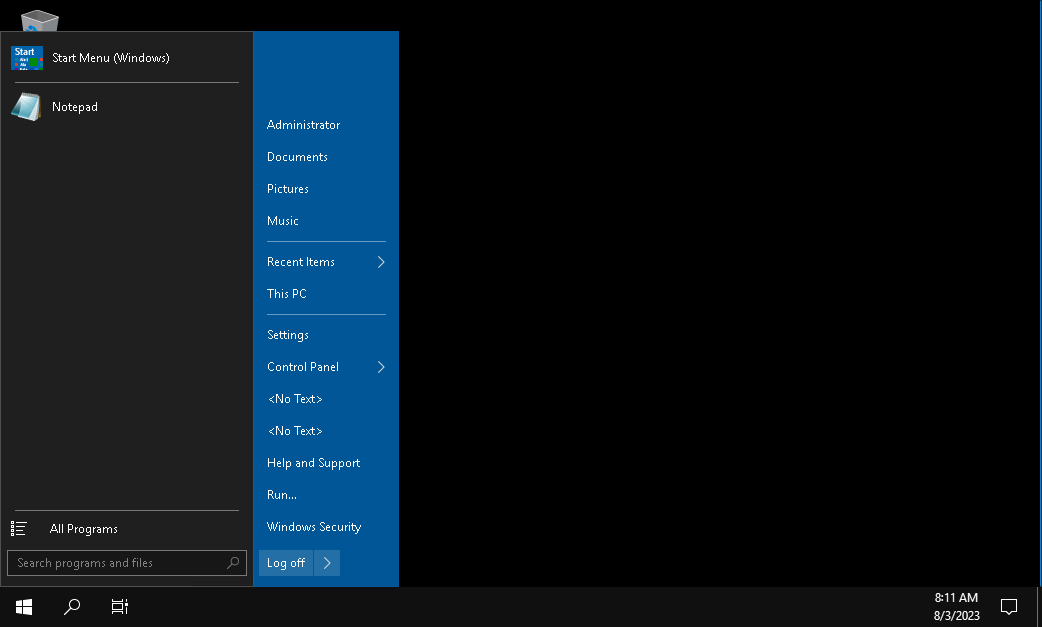
There’s no need to restart after this. Go ahead and log out and log back in, and you should be greeted with the familiar Windows desktop.

Adding the Start Menu back in
It’s not quite the full desktop experience though. Most notably, the start menu does not work at all. We can work around this by installing a 3rd party program called Open-Shell.
Open a Powershell window (you can do this by hitting Meta+R and running powershell) and enter in the following command:
wget https://github.com/Open-Shell/Open-Shell-Menu/releases/download/v4.4.190/OpenShellSetup_4_4_190.exe -outfile OpenShell.exe
Then type OpenShell.exe and run the installer. If you don’t want the Explorer tweaks, make sure to deselect that feature before you proceed.
Now, when you click the Start Menu, it’ll bring up the Open-Shell settings window. Make the changes you want, and you’ll now have a classic, but fully functional Start Menu.
Installing a browser
If we want to be able to really use this as a desktop, we’ll need a browser. The easiest one that I found I was able to get up and running was Vivaldi. Open up your Powershell window again and run the following command:
wget https://downloads.vivaldi.com/stable/Vivaldi.6.1.3035.257.x64.exe -outfile VivaldiSetup.exe
and then same as with Open-Shell, run VivaldiSetup.exe (be sure to select Advanced and in the drop down select Install for all users). After a short install, we’ll now have a full web browser available to us.
Adding Users
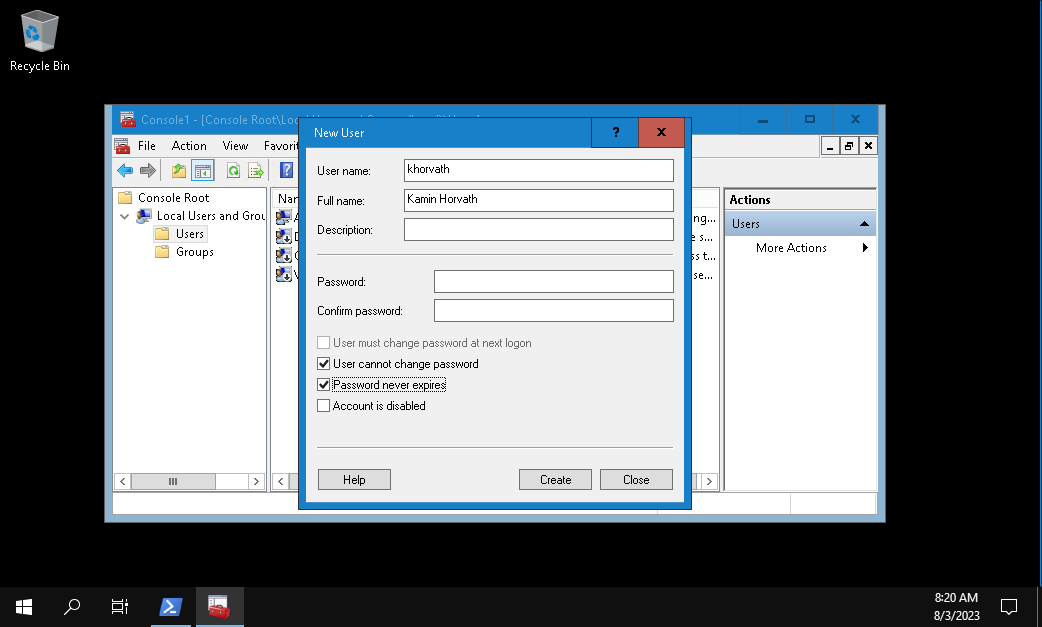
We’re still running as the default Administrator user, so you may want to create your own user profile instead. The usual Control Panel and Settings aren’t available to us here, but we can create one by opening mmc.exe, clicking File > Add/Remove Snap In…, selecting Local Users and Groups in the left pane, and clicking Add >. Select Local Computer in the pop up dialog and hit Finish. You may get an error message that MMC could not initialize the snap-in, but I was just able to hit OK and it worked anyway. In the left pane, select Local Users and Groups, and then browse to Users. In the right pane, right click and select New User…. Fill out the fields as you’d like and click Create. The new user has been created, and you’ll now be able to log out and log back in as your new user.
Final thoughts and additional steps
From here out, you should be fully equipped with a working desktop and a browser which will allow you to download and install whatever additional programs you’d like. Since our desktop is still missing some core functionality, I’d recommend some 3rd party tools like 7-zip to open archives, and Everything for local file search.
But there you have it, a (mostly) fully functional Windows desktop on a free Hyper-V Server 2019 machine. Special thanks to This reply on this Open-Shell issue for discovering the preliminary steps necessary to get this off the ground.